Guide courtesy of Team Golf Clash Tommy.
Yellow Path
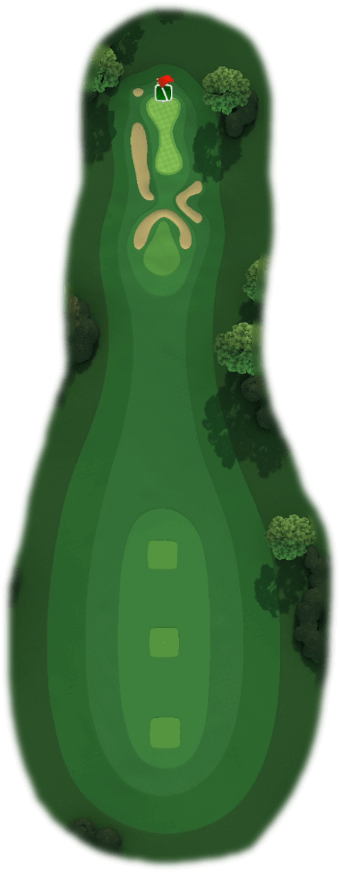
Use the fairway platform to bounce over to the green and let the ball roll out to the pin. Important to only use 1 bar of backspin with tailwind and half a bar of topspin with headwind. Recommended approach with head or tailwind.
Yellow Path
Yellow Path
White Path
There is a big piece of rough you can hit into using this approach. Use 2 bars of topspin with headwind and 1 bar of topspin with a tailwind. A nice way to play the hole with sidewind.

